Q & A - Ridge Caps Facing the Prevailing Winds

Lucy from Illinois asked "For ridge shingles, how should the shingle overlap be oriented to the prevailing winds?"
I am not sure what type of products you are using, but today most of the better-designed ridge caps have a sealant on the underside to resist high wind blow-offs. They are commonly made with fiberglass reinforced SBS Modified Bitumen. No longer, are ridge cap shingles brittle, susceptible to cracking, granule separation and blow-offs. Most manufacturers warranty the ridge caps the same as the field shingles. Some roofing systems are rated up to 110 – 130 MPH and would be covered under a manufactures warranty if damaged in a high-wind event.
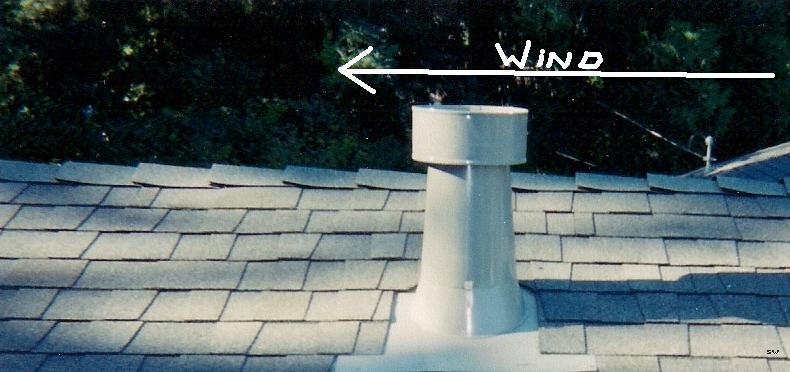
Installing ridge cap shingles in higher wind areas it is a good idea to install the ridge caps towards the prevailing winds. So, if your ridge runs north and south and the prevailing winds are from the south, start nailing the ridge caps at the north end, installing the next ridge cap shingle into the south or prevailing wind. This keeps the lapped part of the shingle from facing the wind and reduces the possibility of wind damage.
Using the proper nail length is needed
Using properly sized nails is very important. With the thicker architectural shingles, high-definition ridge caps and ridge vent, some installers are not using the correct nail length. Nails must be a 10-12 gauge, barb shanked roofing nail with heads 3/8″ (10 mm) to 7/16″ (12 mm) in diameter. Nails should be long enough to penetrate through the roof deck or at least 3/4″ (19 mm) into the roof deck.
With ridge vents being used more these days on roofs for ventilating attics, I would use a 3-inch comp nail, blind nailing each ridge cap as shown in the picture. { Blind nailing is covering the nail head with the next ridge cap. }
Have a question? AskARoofer.
Find your local roofing contractor in the RoofersCoffeeShop® Contractor Directory.


Comments
Leave a Reply
Have an account? Login to leave a comment!
Sign In